xTool P2 Test and Calibrate the Optical PathUpdated 3 months ago
Why you need it
To prevent issues, it's recommended to first test and calibrate the optical path when encountering the following scenarios:
- Before starting the initial processing task: After you unbox and set up xTool P2 as instructed in the quick start guide, please test the optical path before use to ensure proper material processing.
- After cleaning/replacing mirrors.
- When no laser is coming out from the laser module.
- When there is a noticeable decrease in processing power.
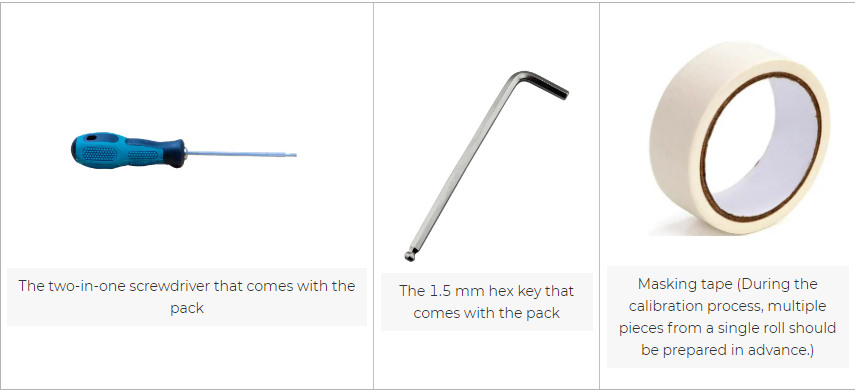
Tools you need
Things to know beforehand
Understand the optical path structure of xTool P2
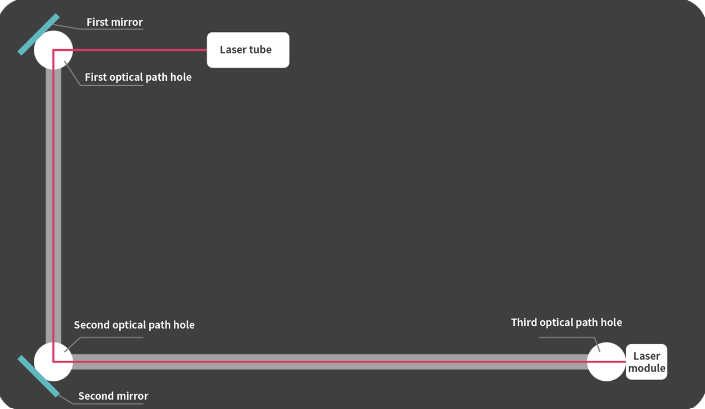
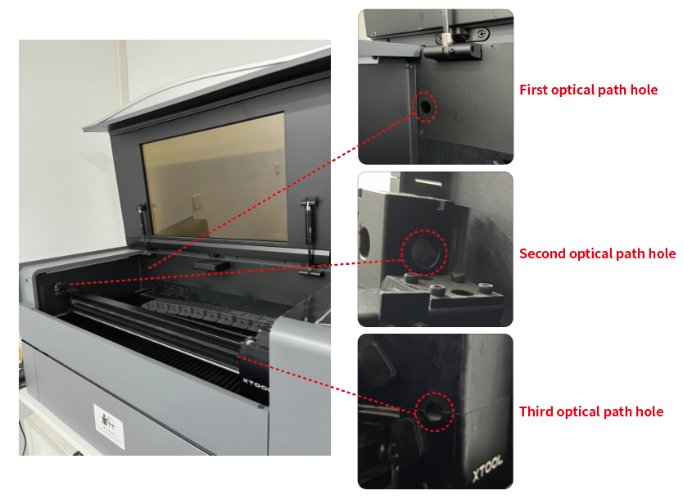
A laser beam is produced by the laser tube, reaches the first mirror, passes through the first optical path hole, reaches the second mirror, passes the second optical path hole, and then reaches the laser module through the third optical path hole, as shown in the following figure.
How to do it
Note:
The video demonstrates just one example of offset cases. You'll need to select the corresponding scenario in the software and calibrate it based on the actual state.
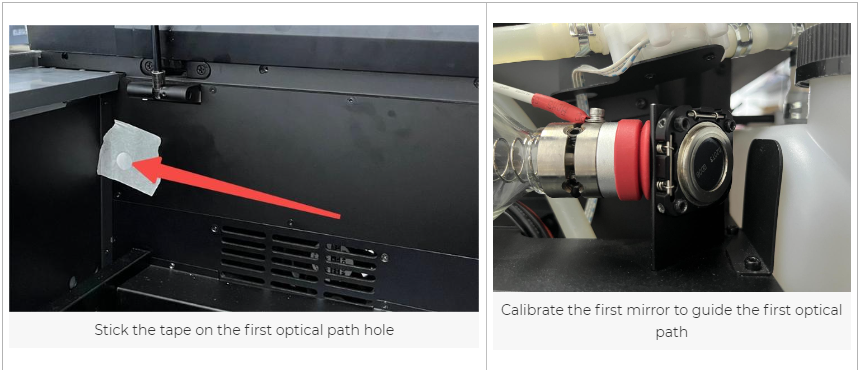
First optical path hole test and mirror calibration
- This video demonstrates testing the first optical path and guides you on calibrating the first mirror if necessary.
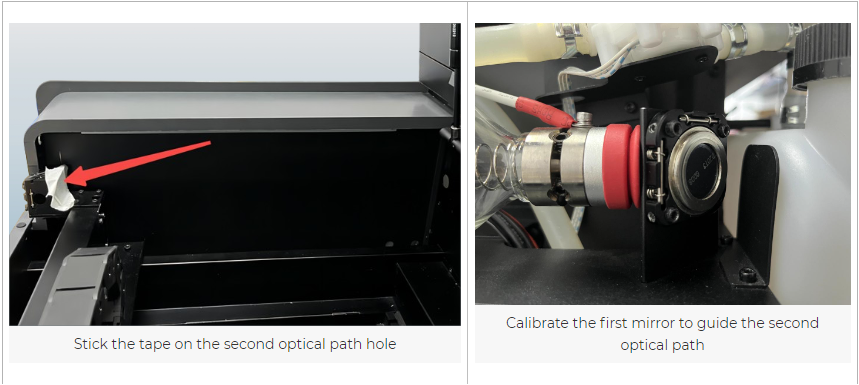
Second optical path hole test and mirror calibration
- The video demonstrates how to test the second optical path and provides an example of calibrating it using one of the optical path offsets.
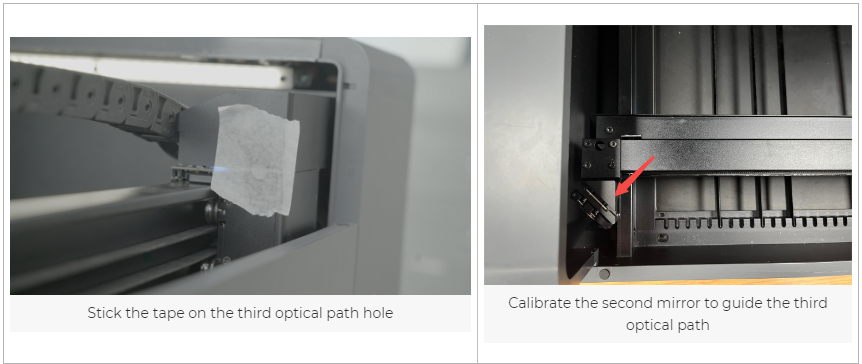
Third optical path hole test and mirror calibration
- The video showcases the procedure for testing the third optical path and offers an instance of calibrating it with an optical path offset.
